

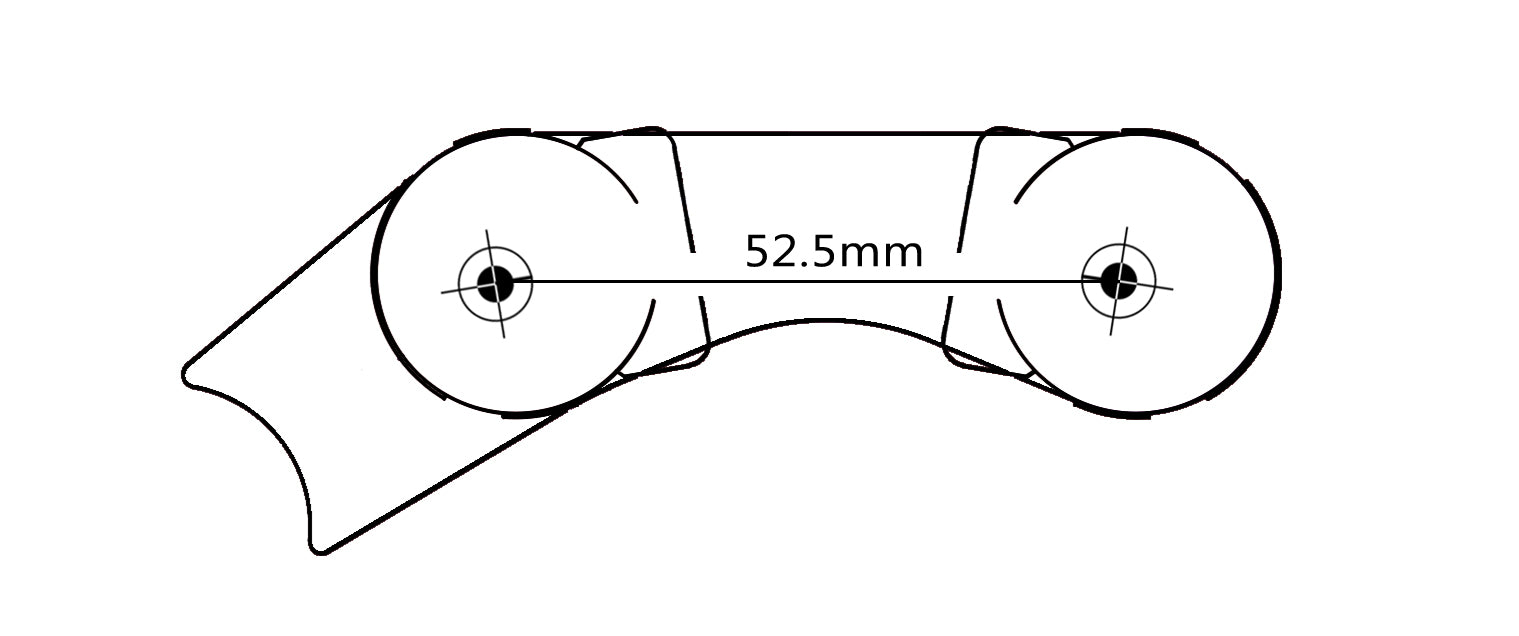

The little"tone" knob does not sit low to the control panel like the other two regular size knobs. It looks pretty wierd .. please send me a regular sized knob.
After the second delivery by Thomann i have had hopes to plug and play.
However:
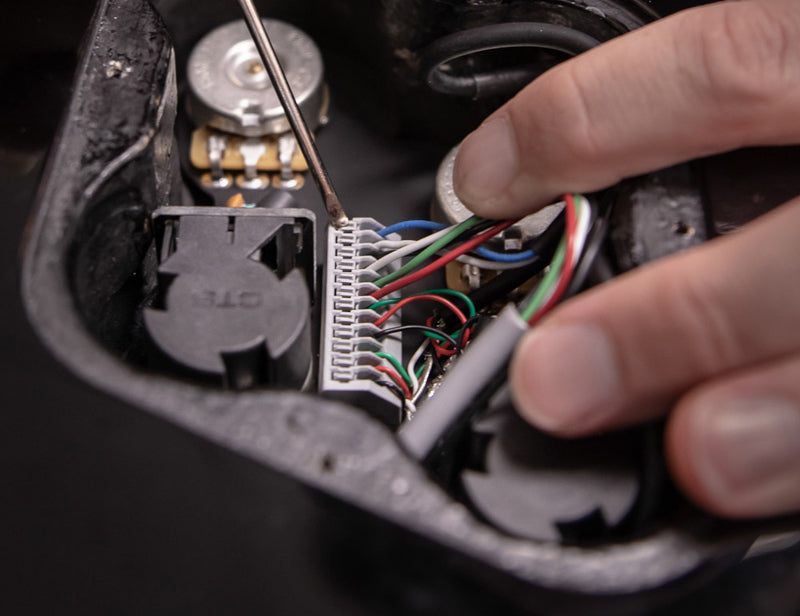
It will take you hours to get the wires into the miniportals! And once stuck, they simple unlock themselves!
Then i extended the wires to work more easely! Same problem with the portals.
The irritation is overwhelming….
So back goes the second unit!
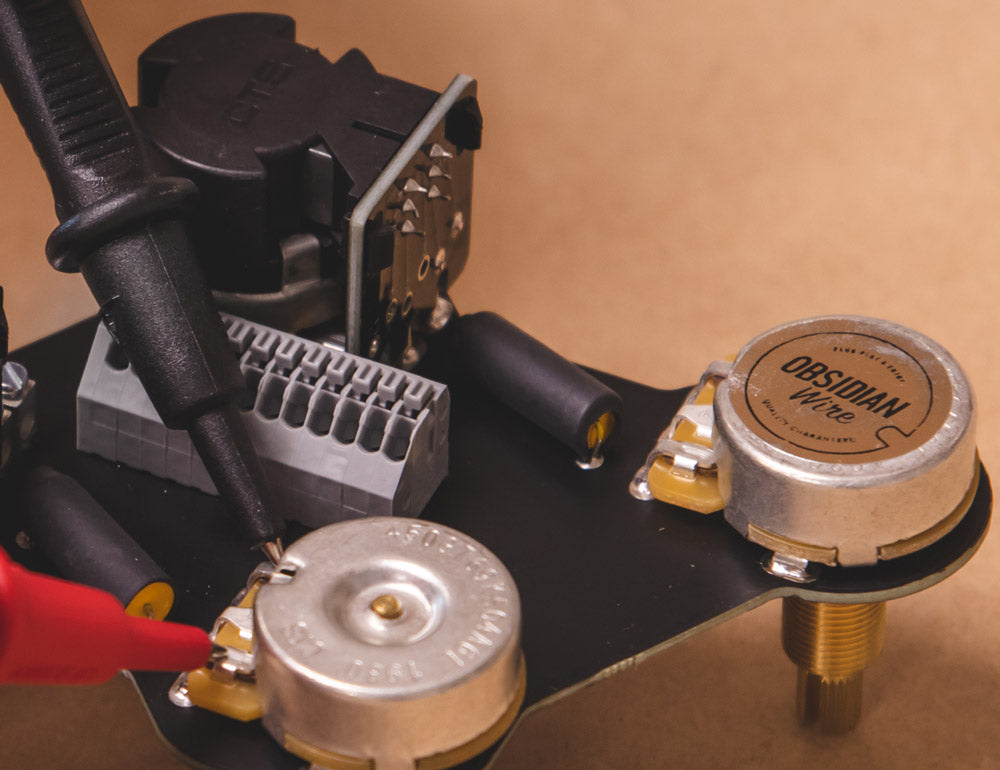
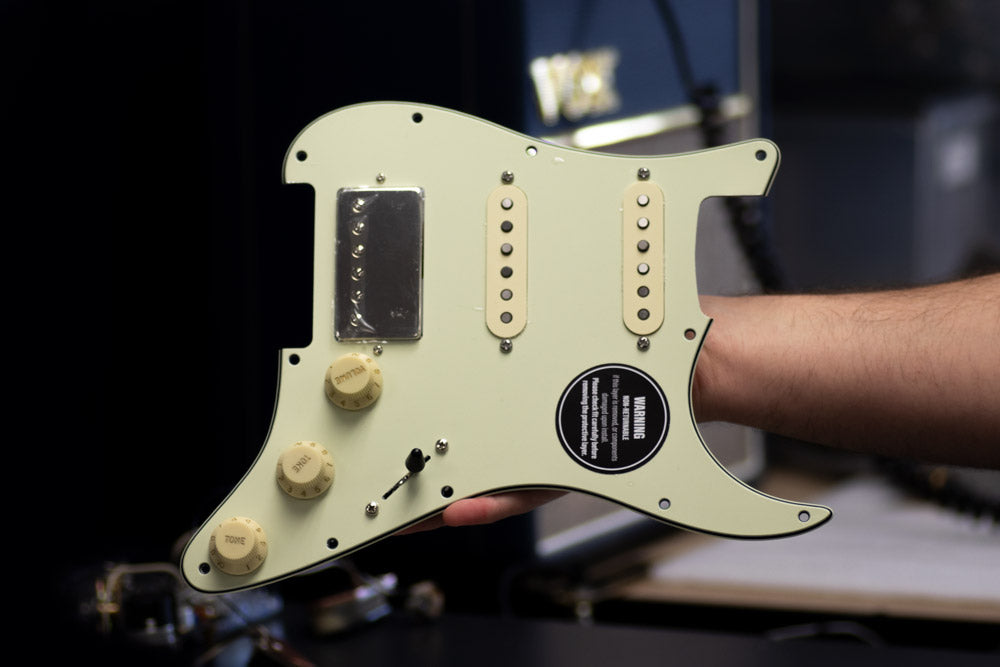
I was a bit anxious about installing it after seeing the instructions but it was incredibly easy, and the end result was amazingly clean sound, great controls.
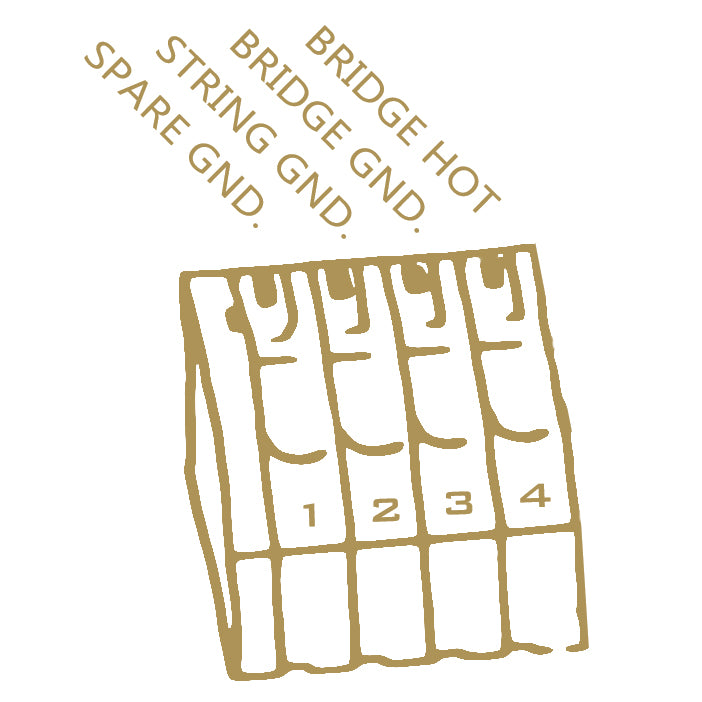
I replaced my 2023 Affinity series Squier Strat's pickup and electronics with this one here and the installation was rather trivial. I did add an improvement to my guitar apart from this excellently packaged, made electronics upgrade for my strat. Specifically, I shielded the electronics cavity and, along with the shielding this Obsidian Wire pickguard comes with, my electronics is now fully shielded! The tones--I went with the TRS4 (Tonerider Alnico 2 blues)--nice, fat, bluesy and yes, like the description says, no distortion even at full volume. I did have to add some insulation to the top of the pickup switch as it was touching my copper shielding but that was trivial. I went with paper insulation. There were three _additional_ ground pins available for use after I connected my guitar output jack so I used it for the tremelo base grounding.
My strat is fantastic sounding now! STRONGLY recommend this product. Compares favorably with my PRS which is multiple times more expensive in price.
Oh--after sales service from Obsidian wire is frikkin excellent! They threw in a guitar output jack for me and I very much appreciated that thoughtful gesture. And the shipping was quite fast, actually. From the time I ordered it in Massachusetts, I got my package, all the way from New Zealand in one week!!!!
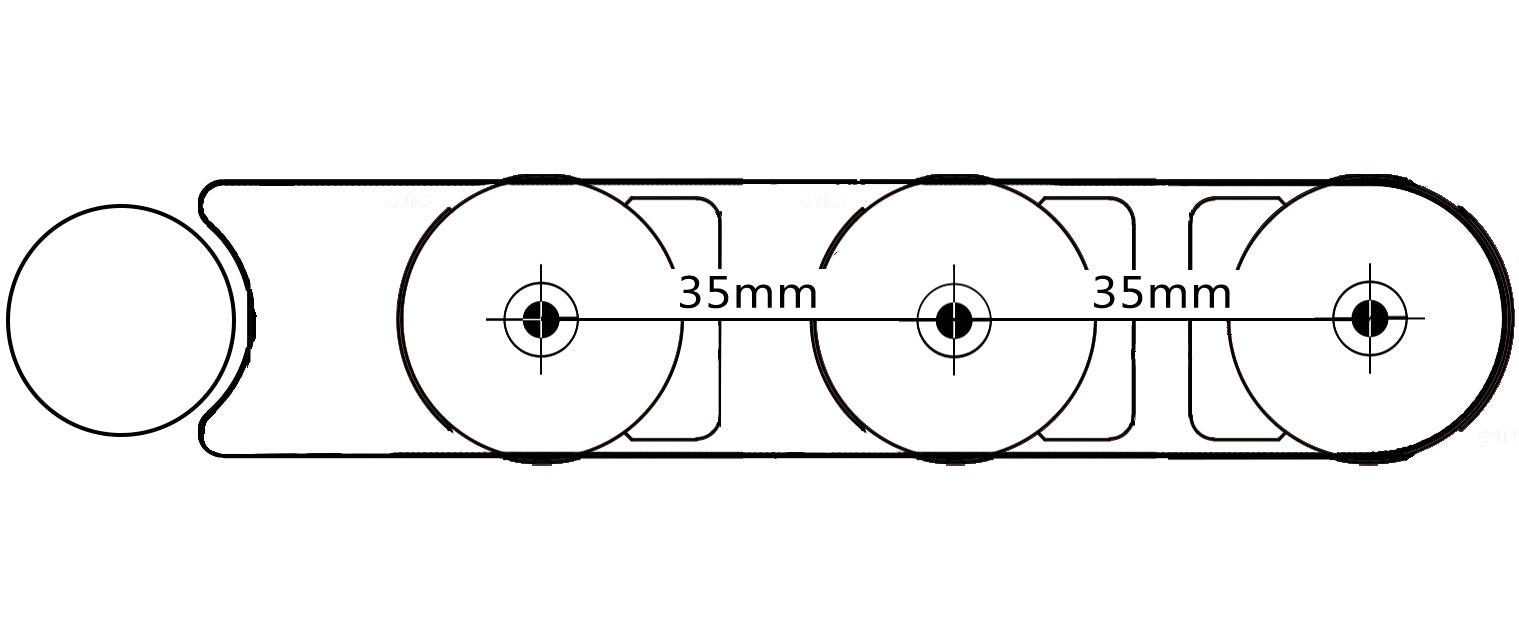
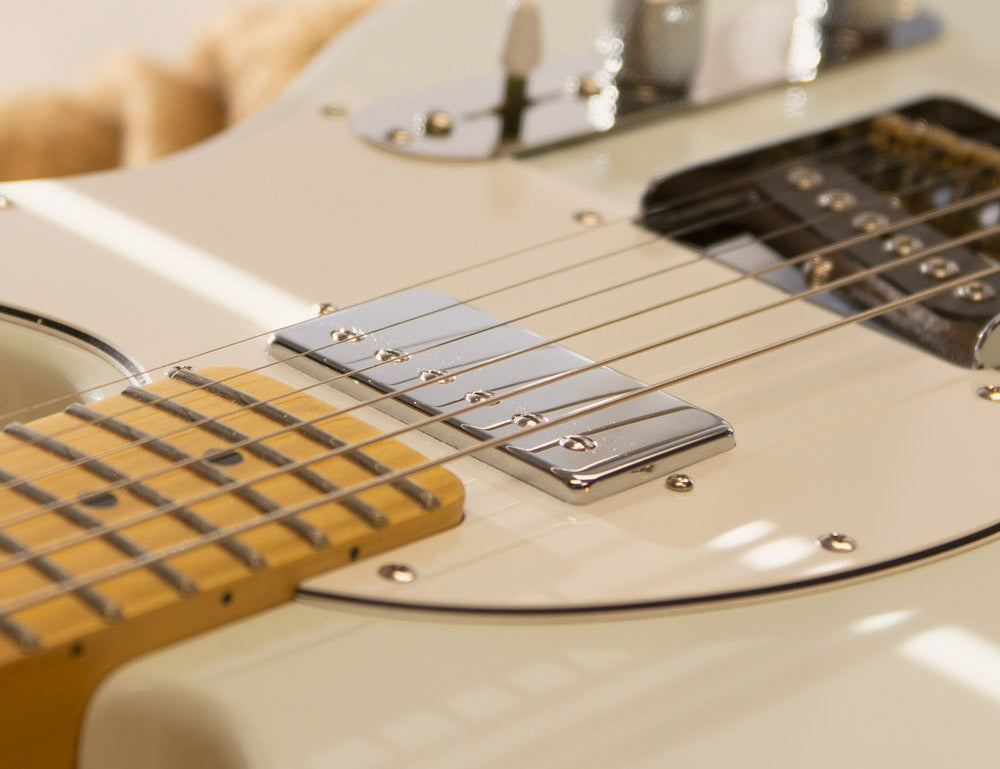
I did the Obsidion 4-way switch mod for my CV 50's Tele which required a new plate and knobs. As was the case with the solder free 4-way switch and new switch plate, the knobs - required to fit the new 1/4" pot stems - was high quality and fit perfectly. I highly recommend all of these products.